Traditional BookBinding
Bookbinding Casing Template
Bookbinding Casing Template
Couldn't load pickup availability
TRADITIONAL BOOKBINDING is a bookbindery located in Victoria, specializing in book repair. Please discover our website for more professional bookbinding supplies.
- Postage: The shipping cost will be applied at the check-out.
- Guarantee: 30-day return, discover our store policy.
- Please go to your cart to select the quantity you prefer.
< Product specification >
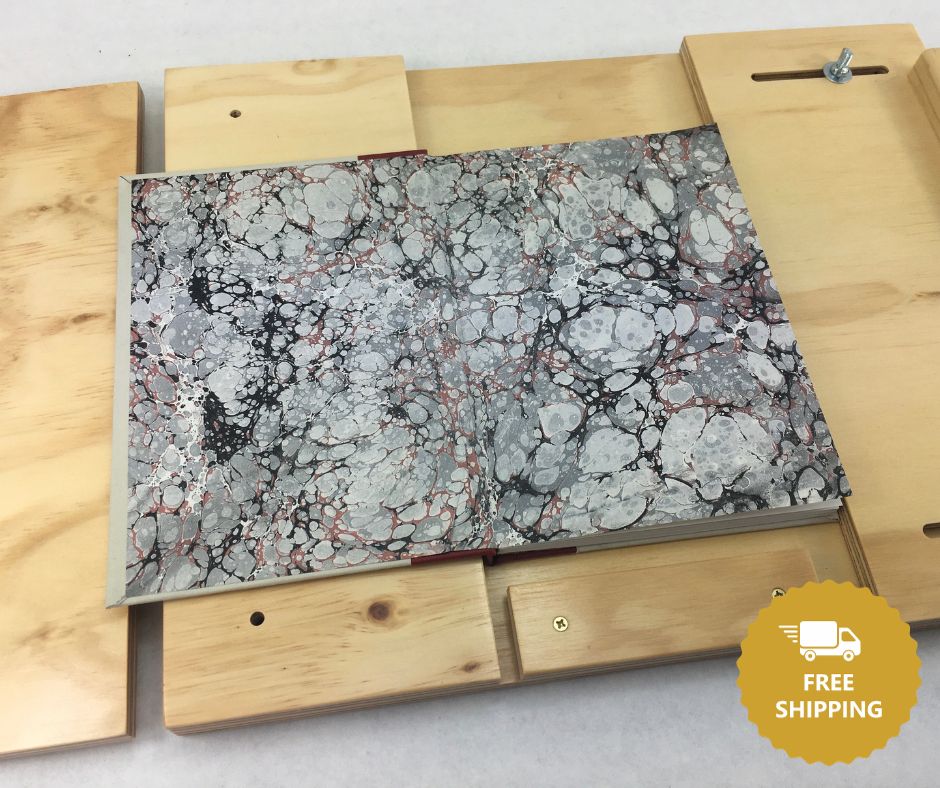
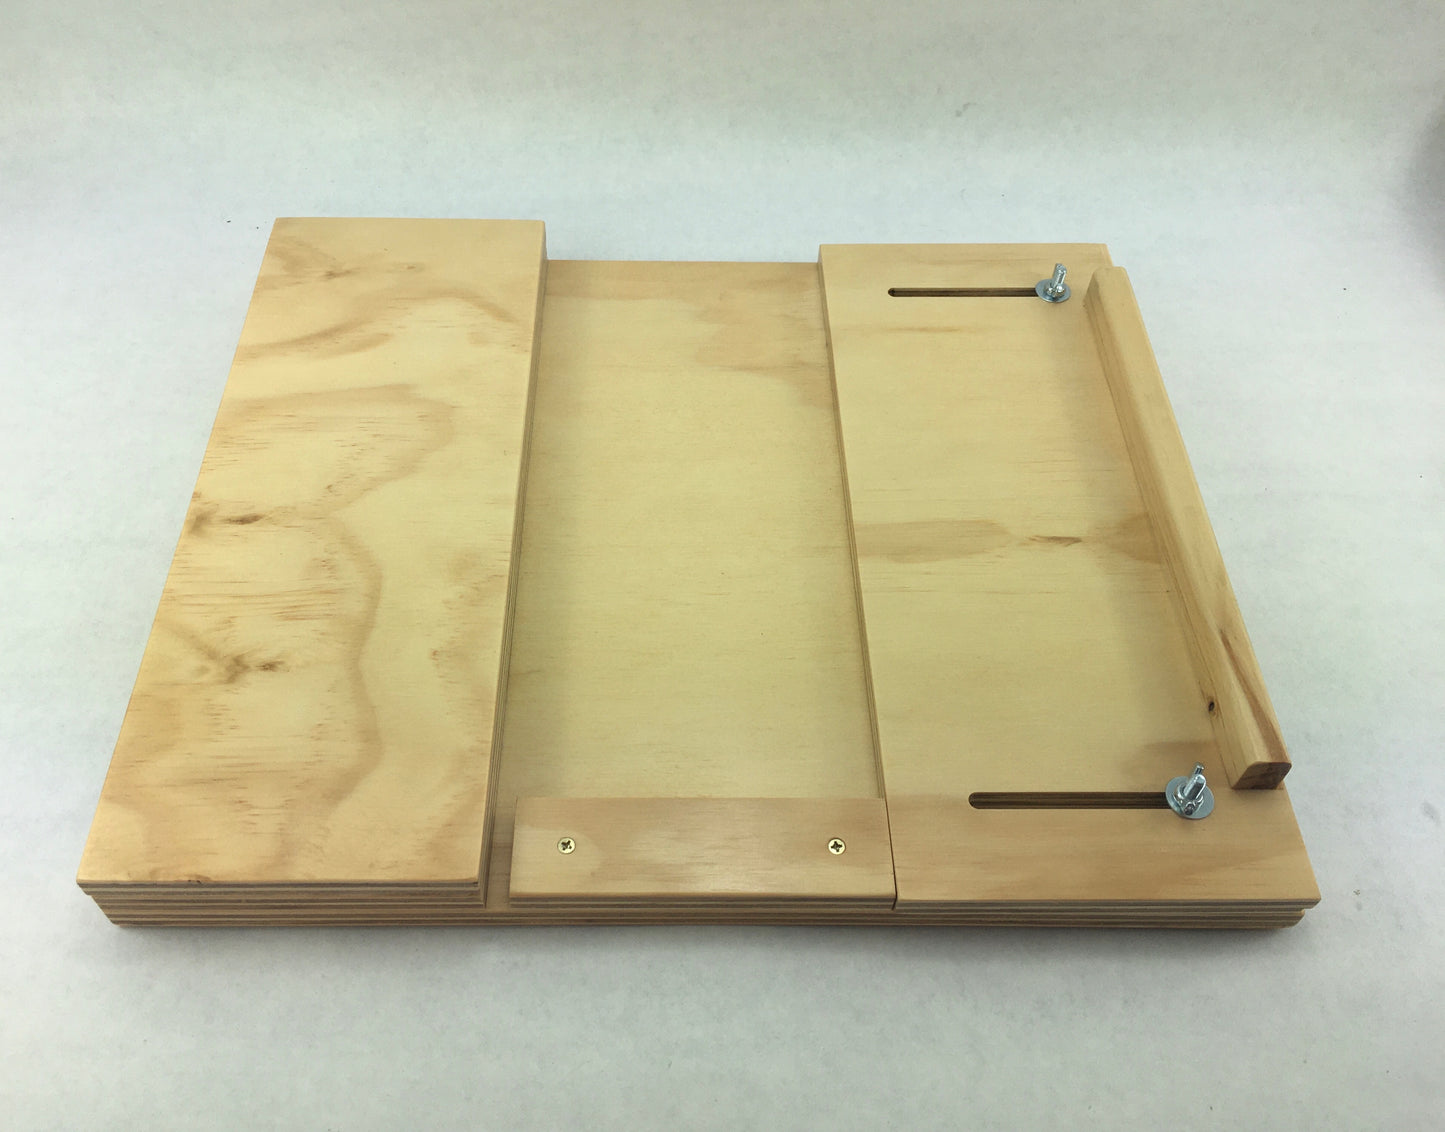
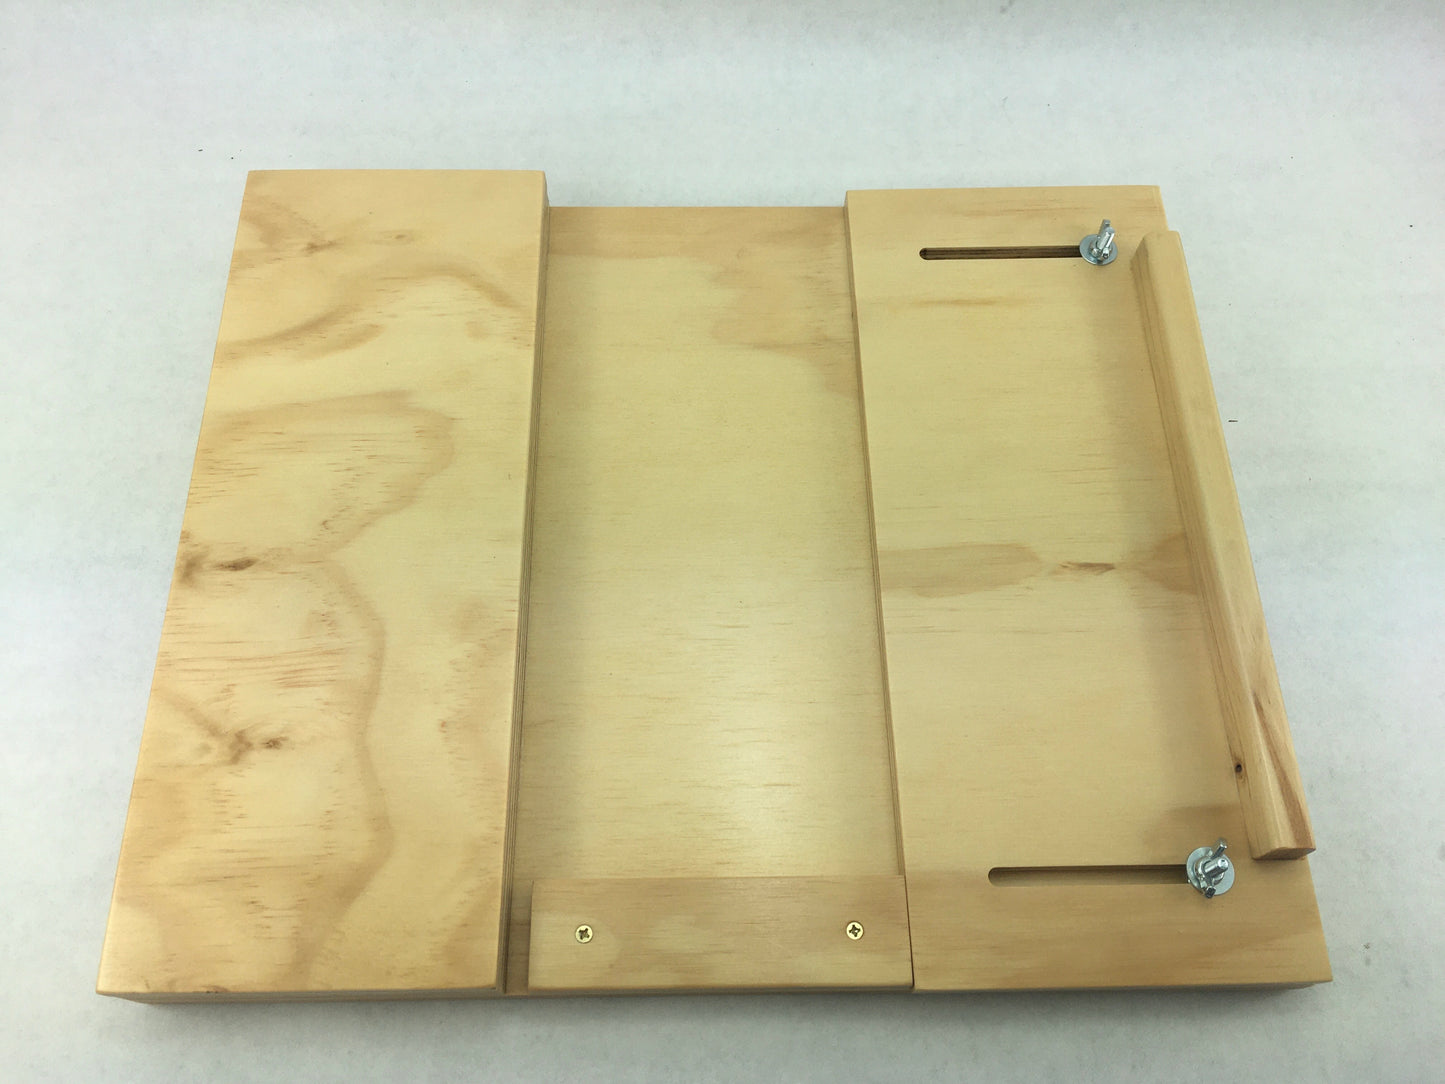
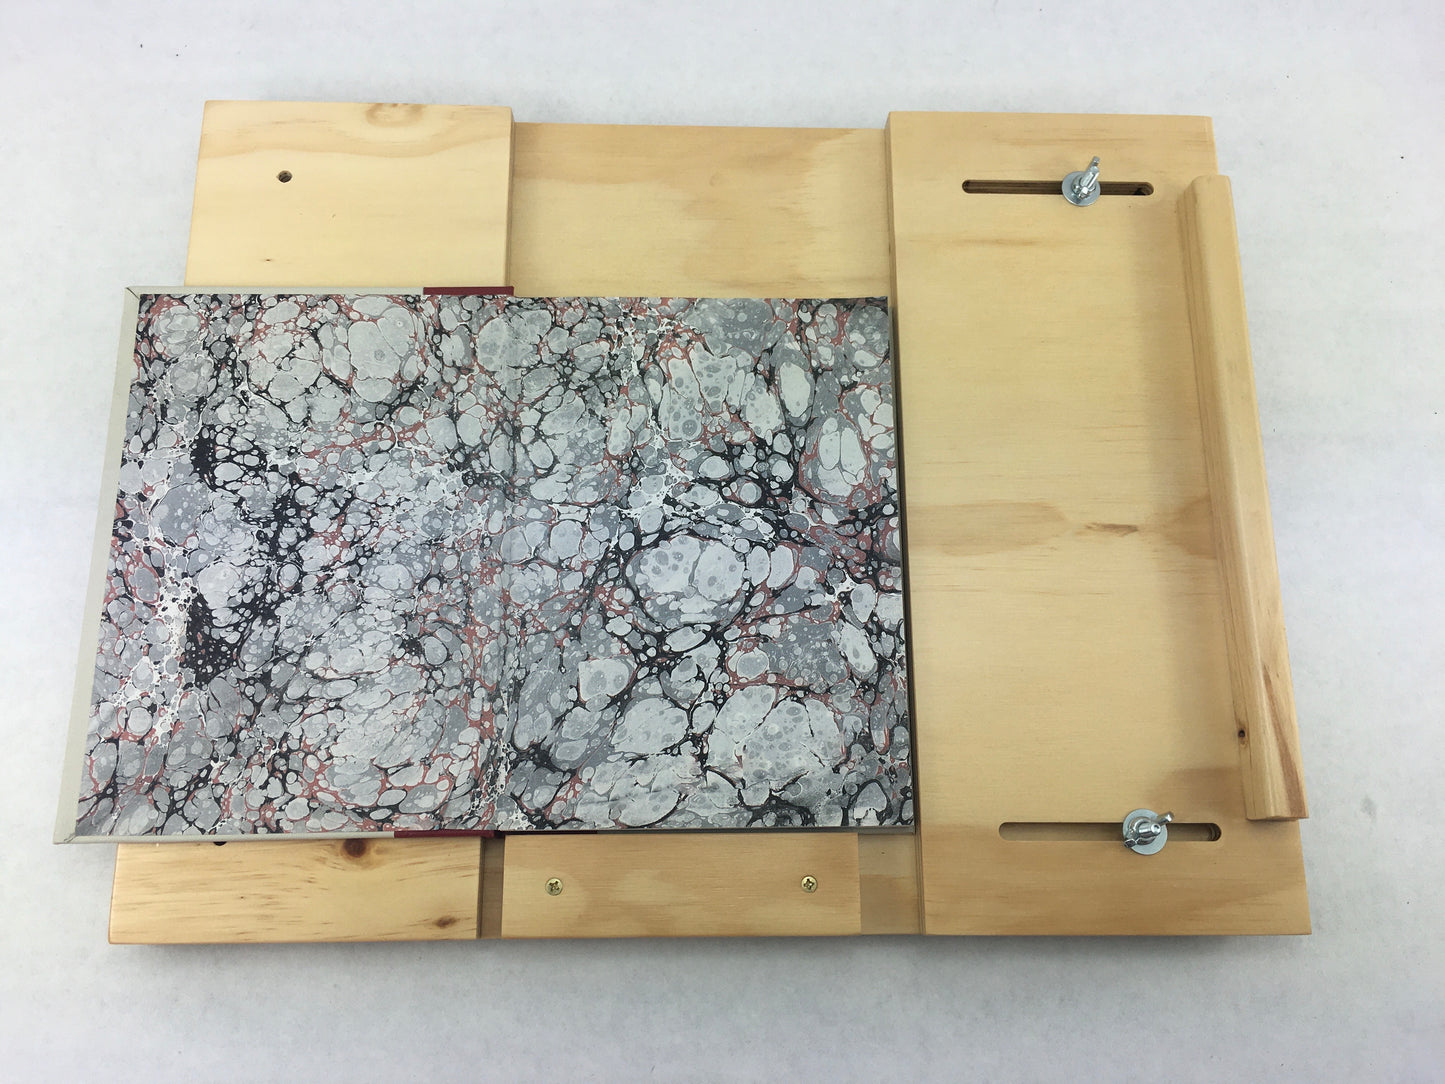
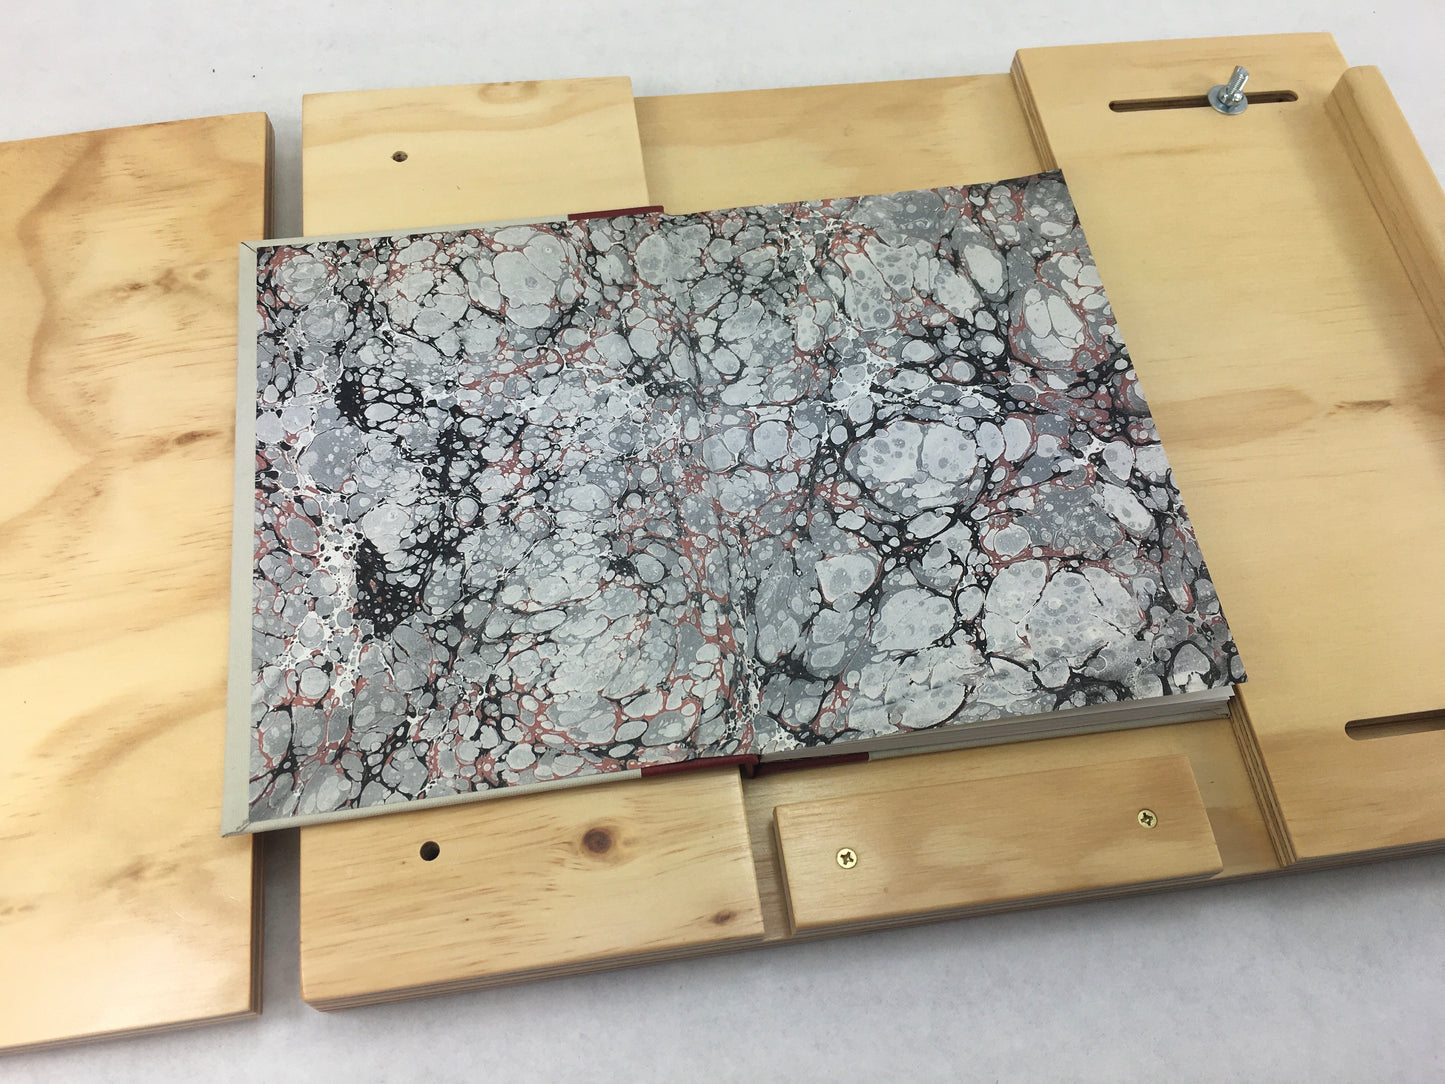
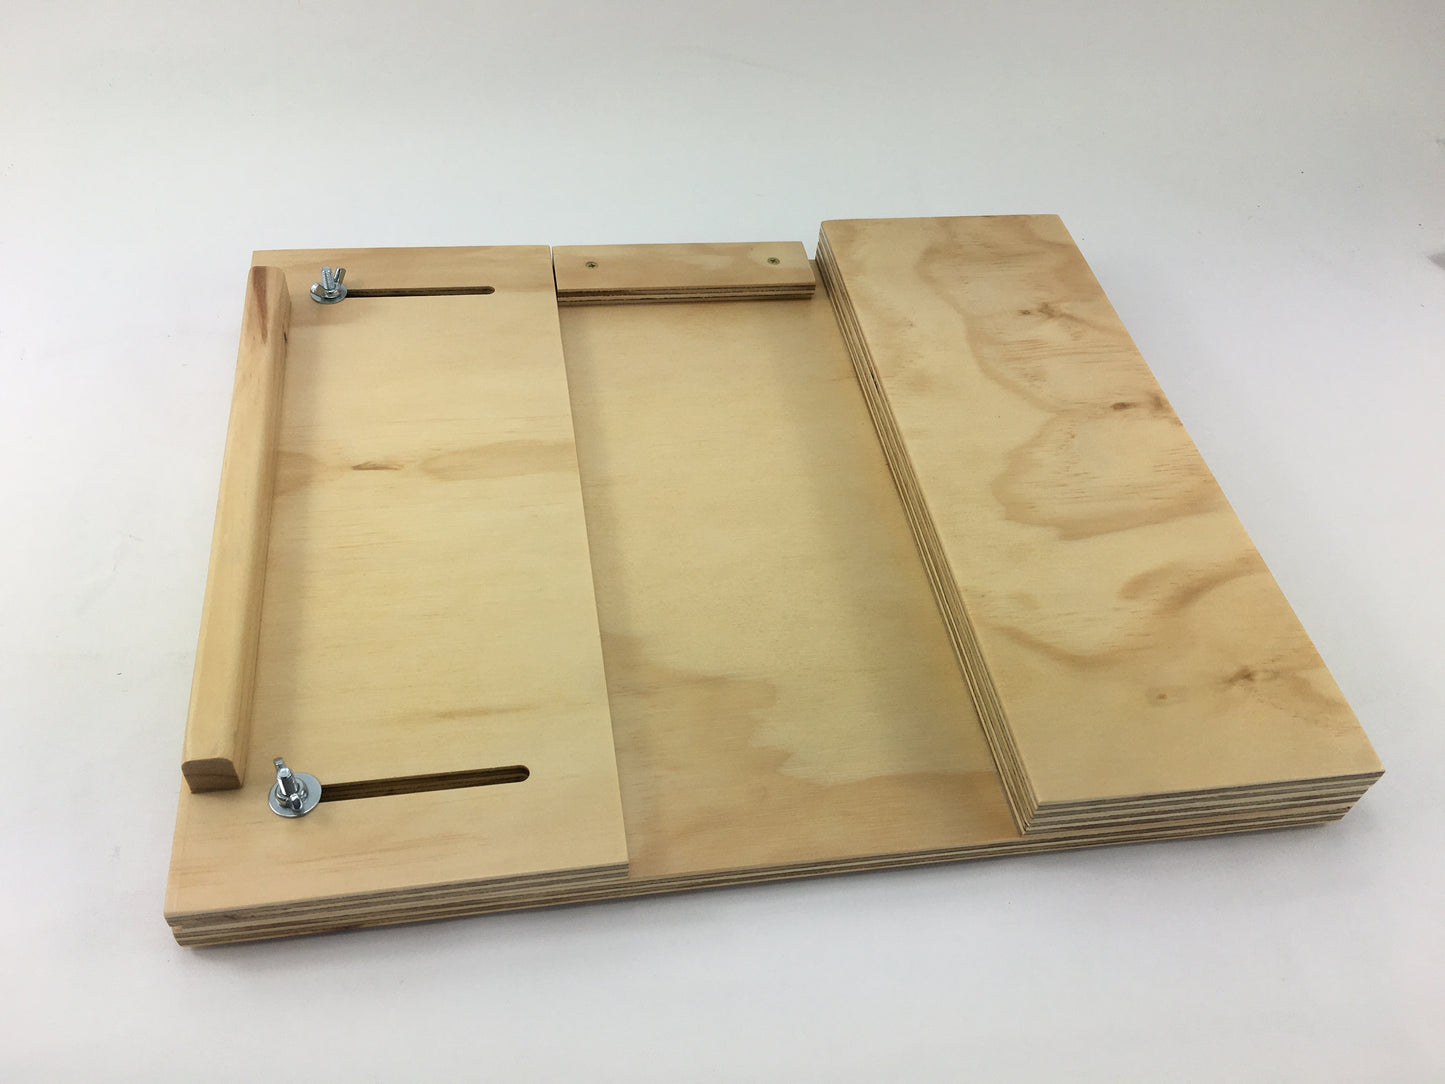
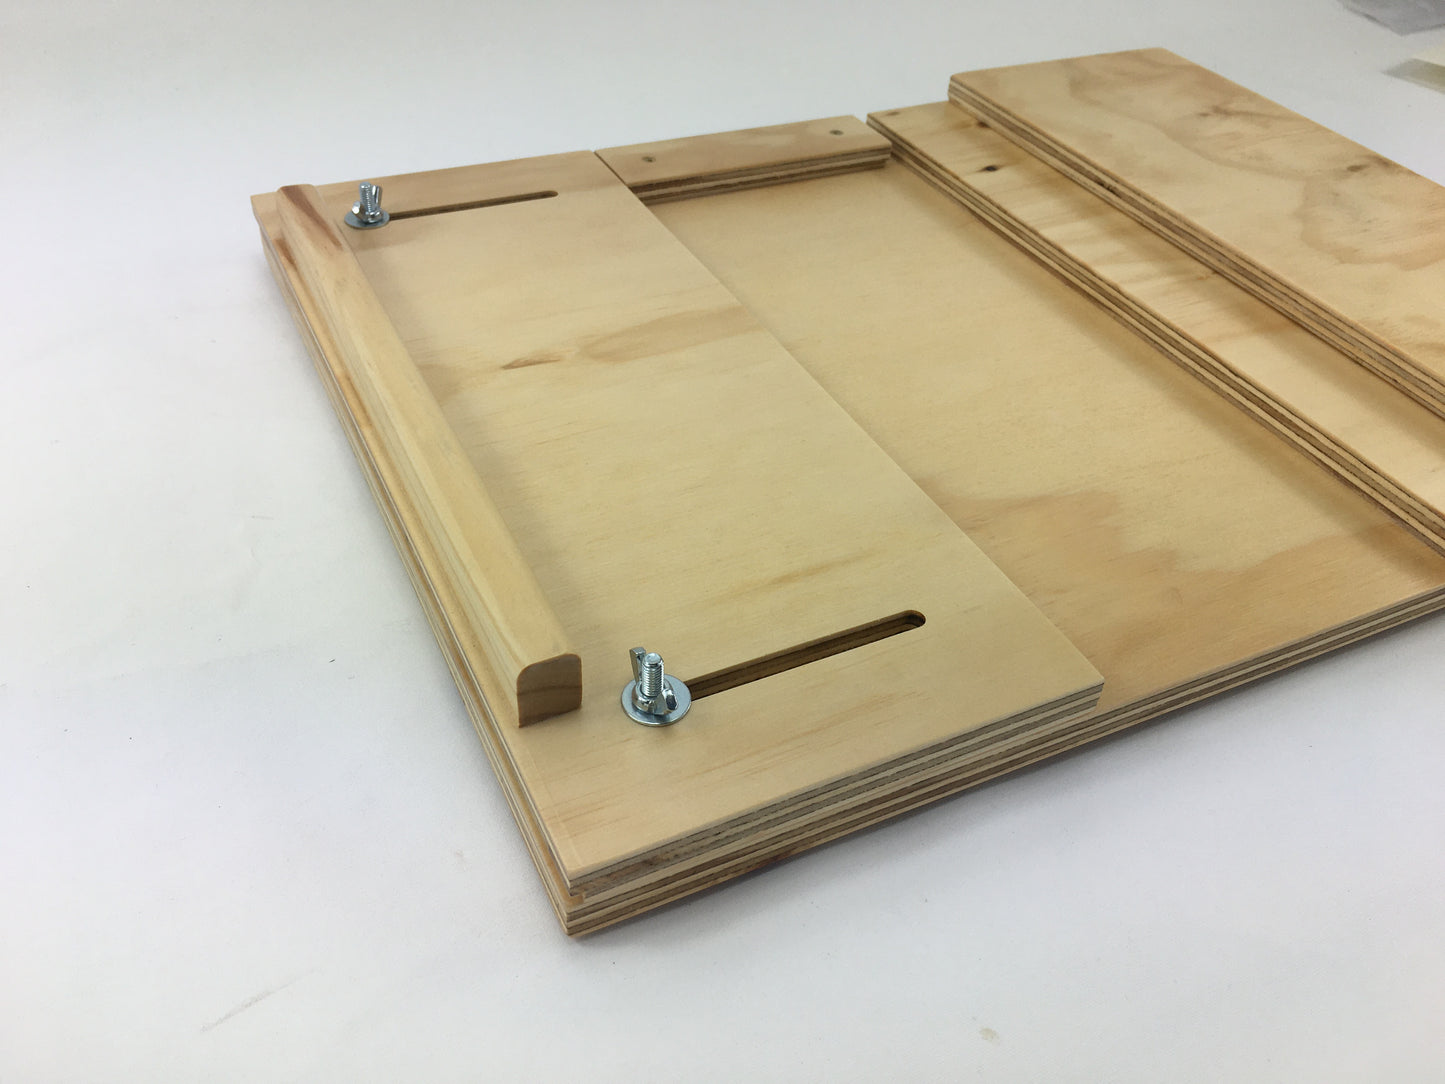
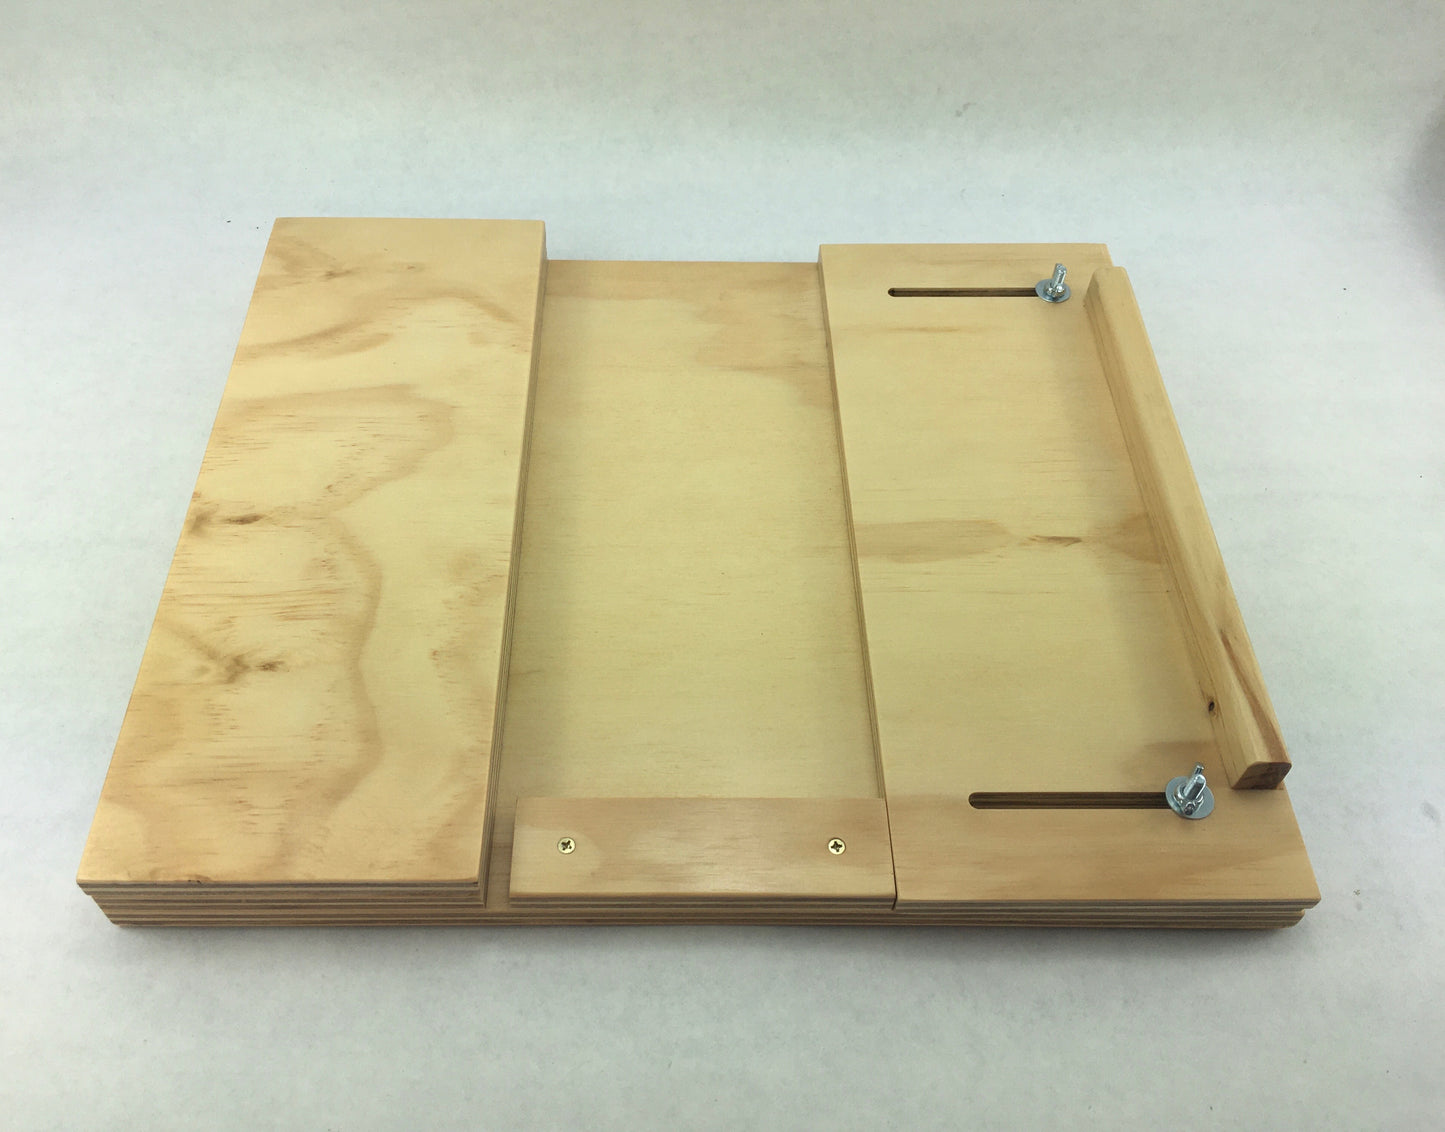
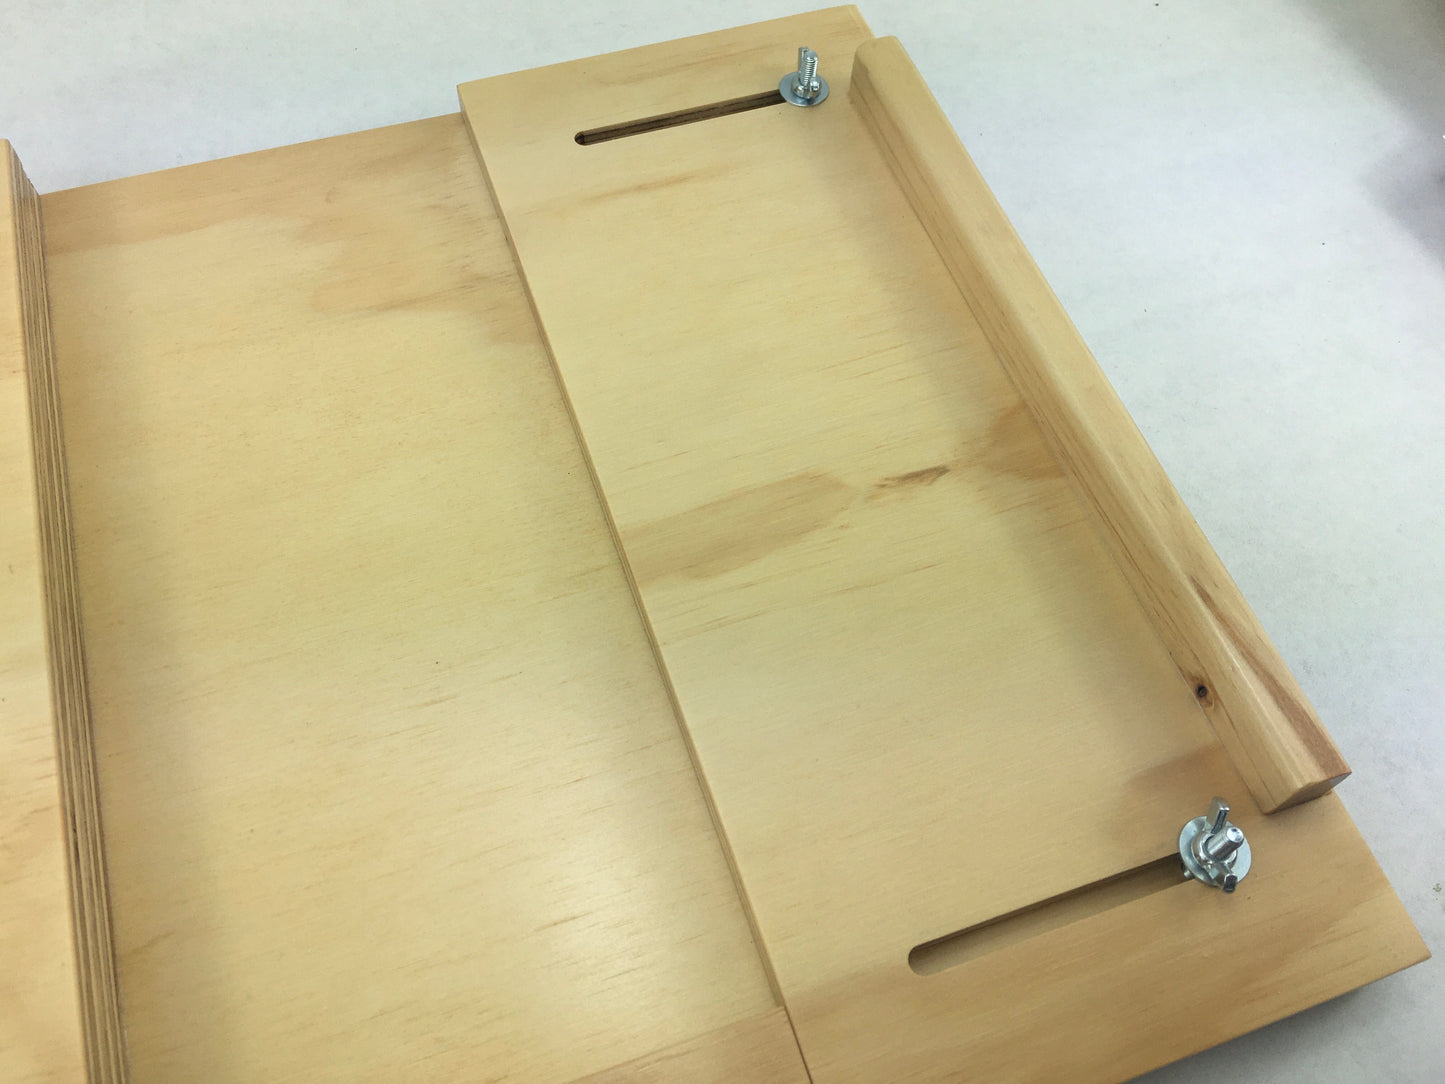
Please discover clear details and images of the casing template in the product listing. The attached information below requires images to indicate certain parts of the casing template. We will also include this instruction with your purchase.
You can find the details below in the attached images.
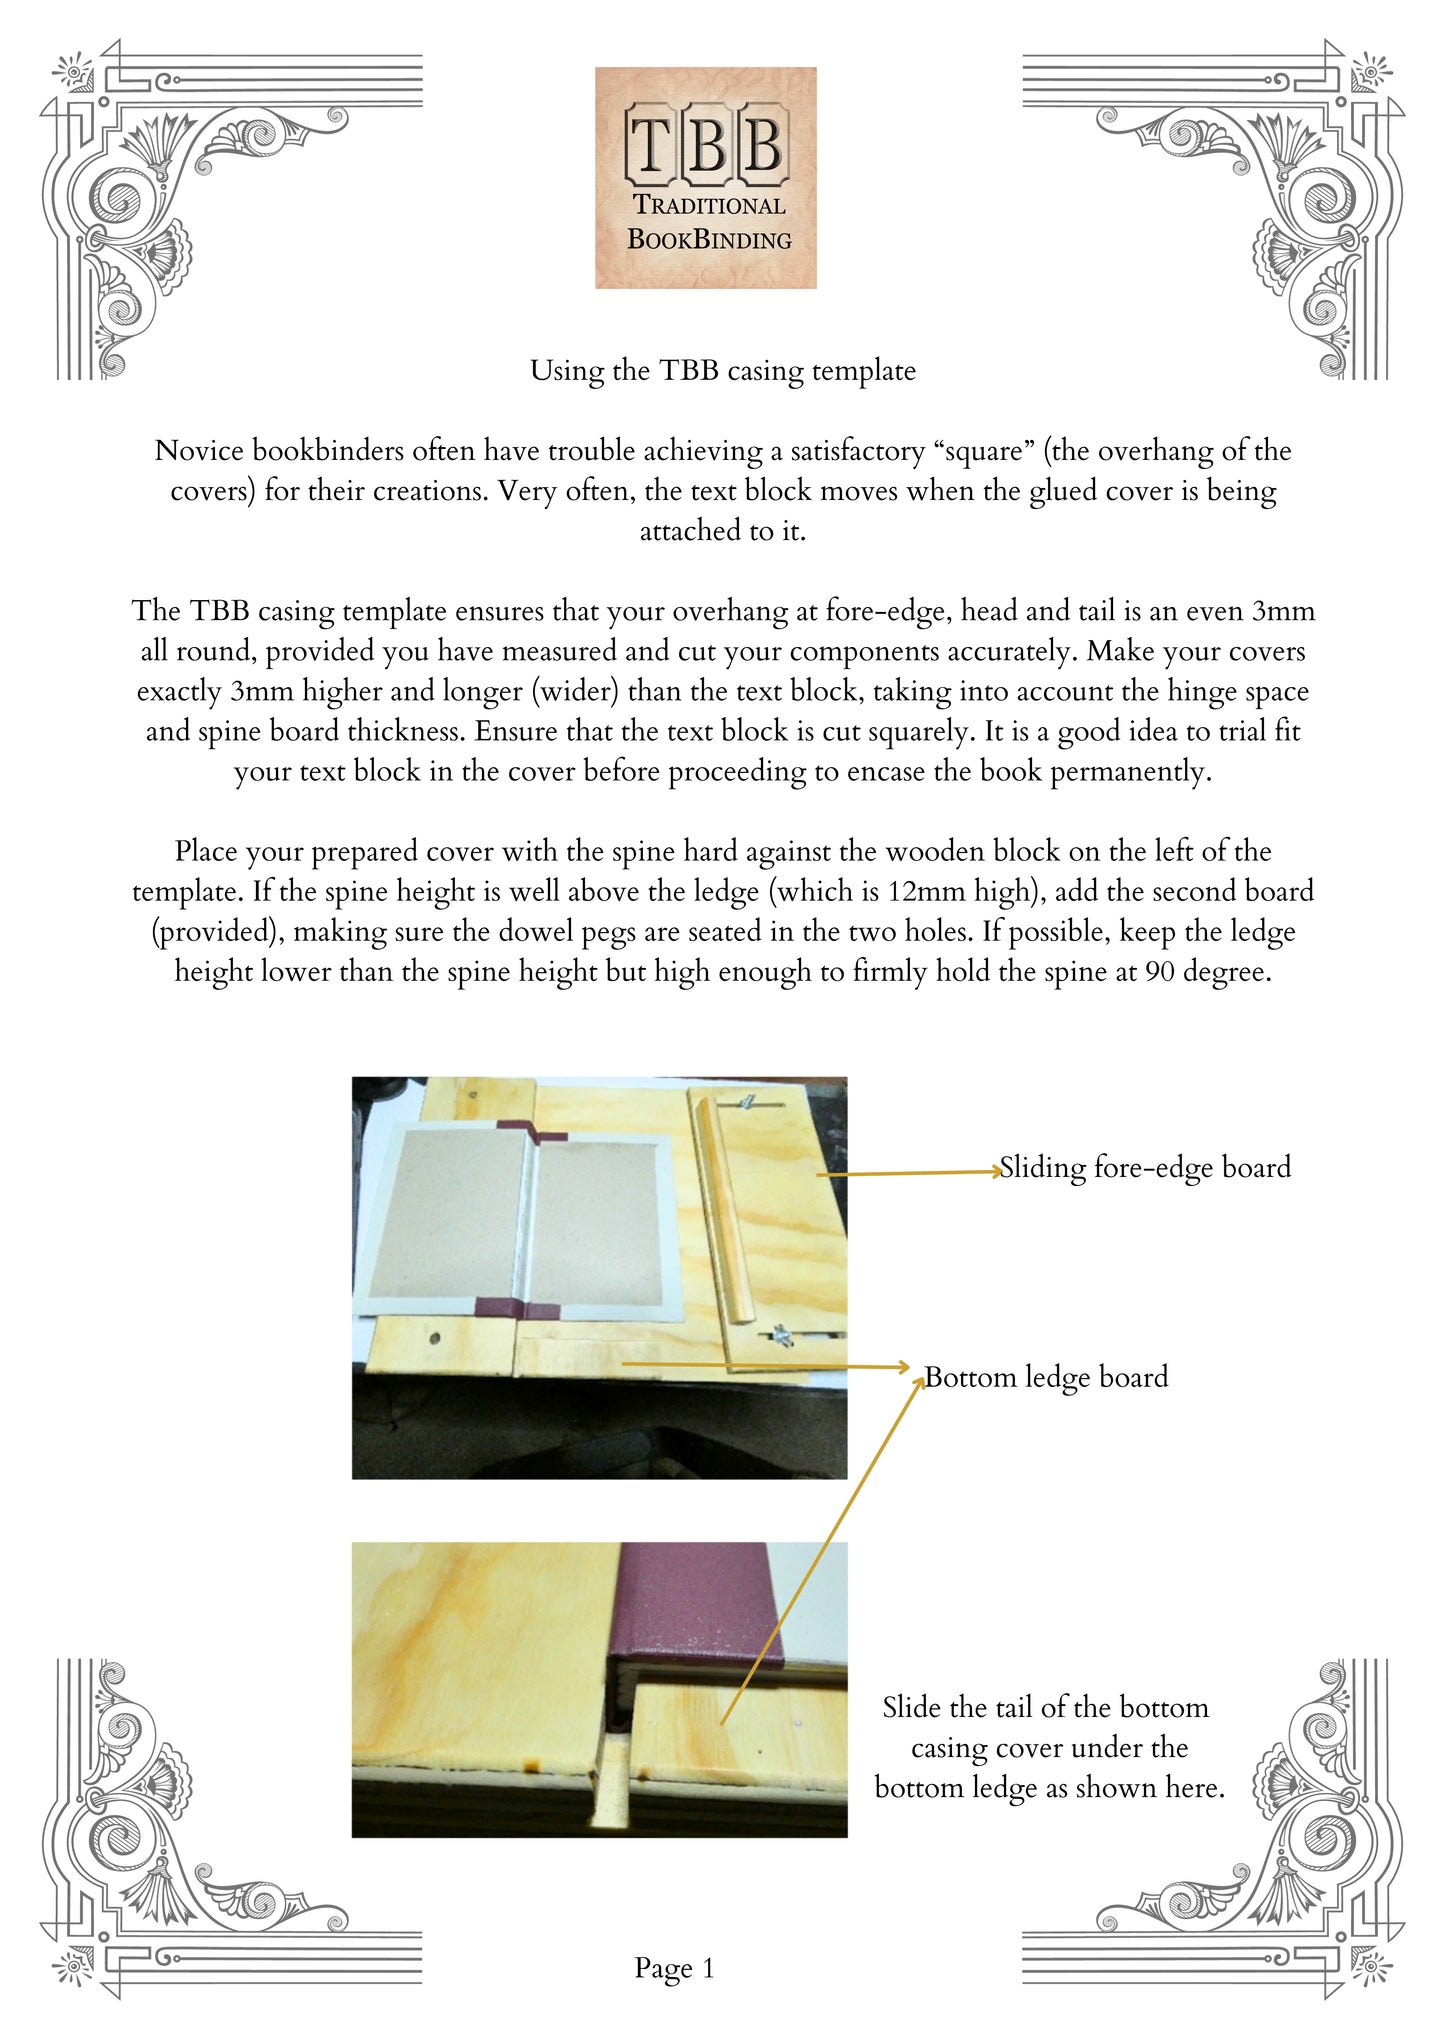
Using the TBB casing template Novice bookbinders often have trouble achieving a satisfactory “square” (the overhang of the covers) for their creations. Very often, the text block moves when the glued cover is being attached to it.
The TBB casing template ensures that your overhang at fore-edge, head and tail is an even 3mm all round, provided you have measured and cut your components accurately. Make your covers exactly 3mm higher and longer (wider) than the text block, taking into account the hinge space and spine board thickness. Ensure that the text block is cut squarely. It is a good idea to trial fit your text block in the cover before proceeding to encase the book permanently.
Place your prepared cover with the spine hard against the wooden block on the left of the template. If the spine height is well above the ledge (which is 12mm high), add the second board (provided), making sure the dowel pegs are seated in the two holes. If possible, keep the ledge height lower than the spine height but high enough to firmly hold the spine at 90 degree.
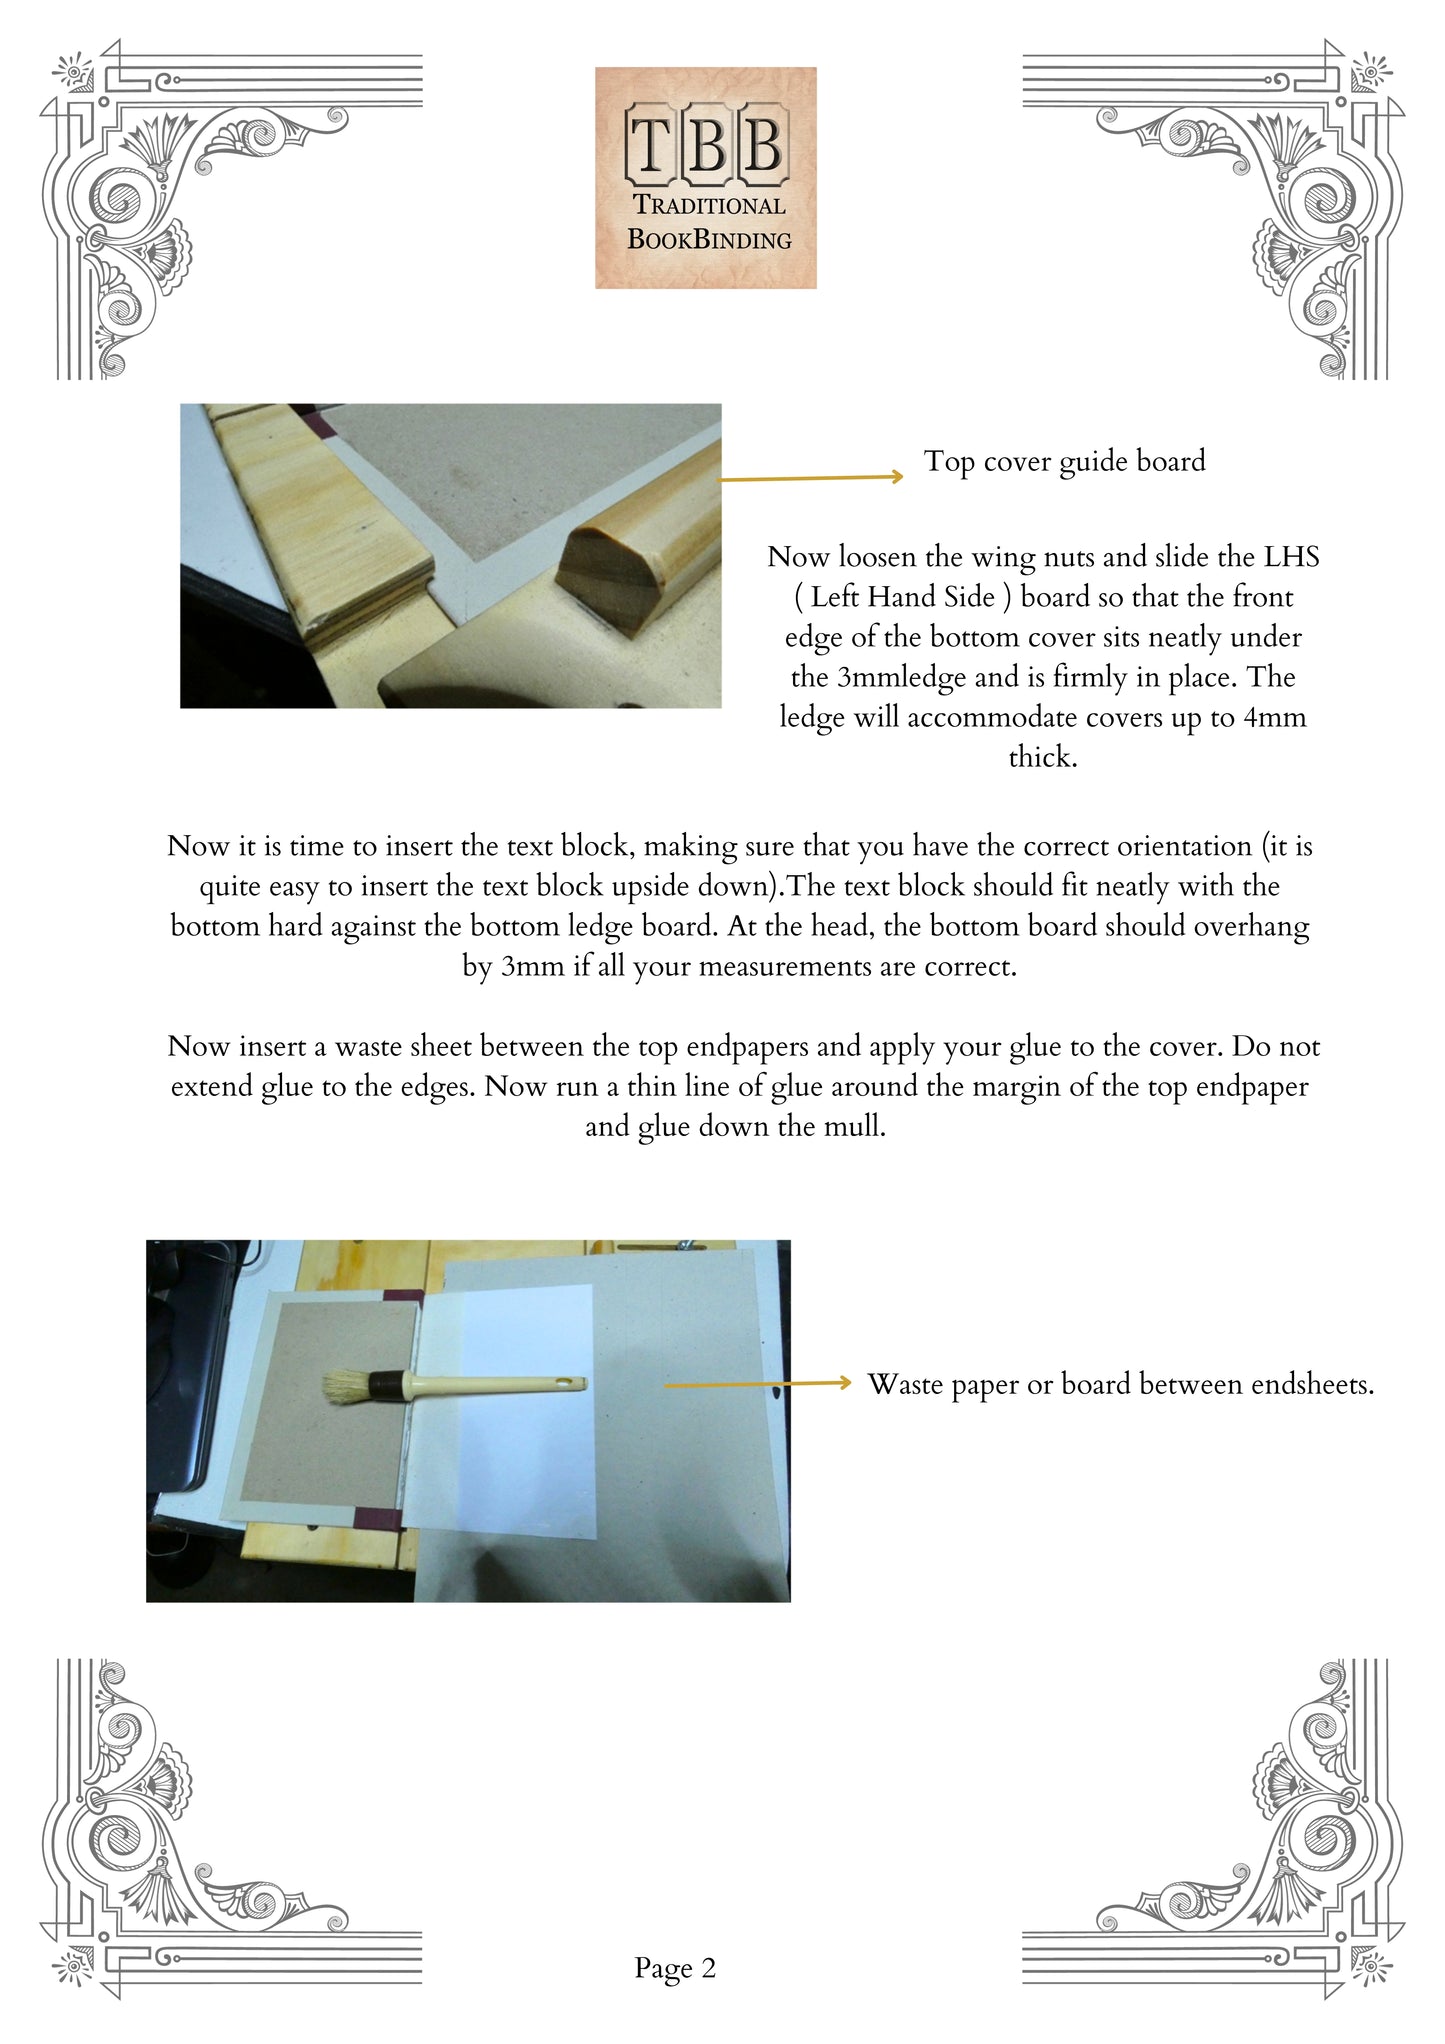
Now it is time to insert the text block, making sure that you have the correct orientation (it is quite easy to insert the text block upside down).The text block should fit neatly with the bottom hard against the bottom ledge board. At the head, the bottom board should overhang by 3mm if all your measurements are correct.
Now insert a waste sheet between the top endpapers and apply your glue to the cover. Do not extend glue to the edges. Now run a thin line of glue around the margin of the top endpaper and glue down the mull.
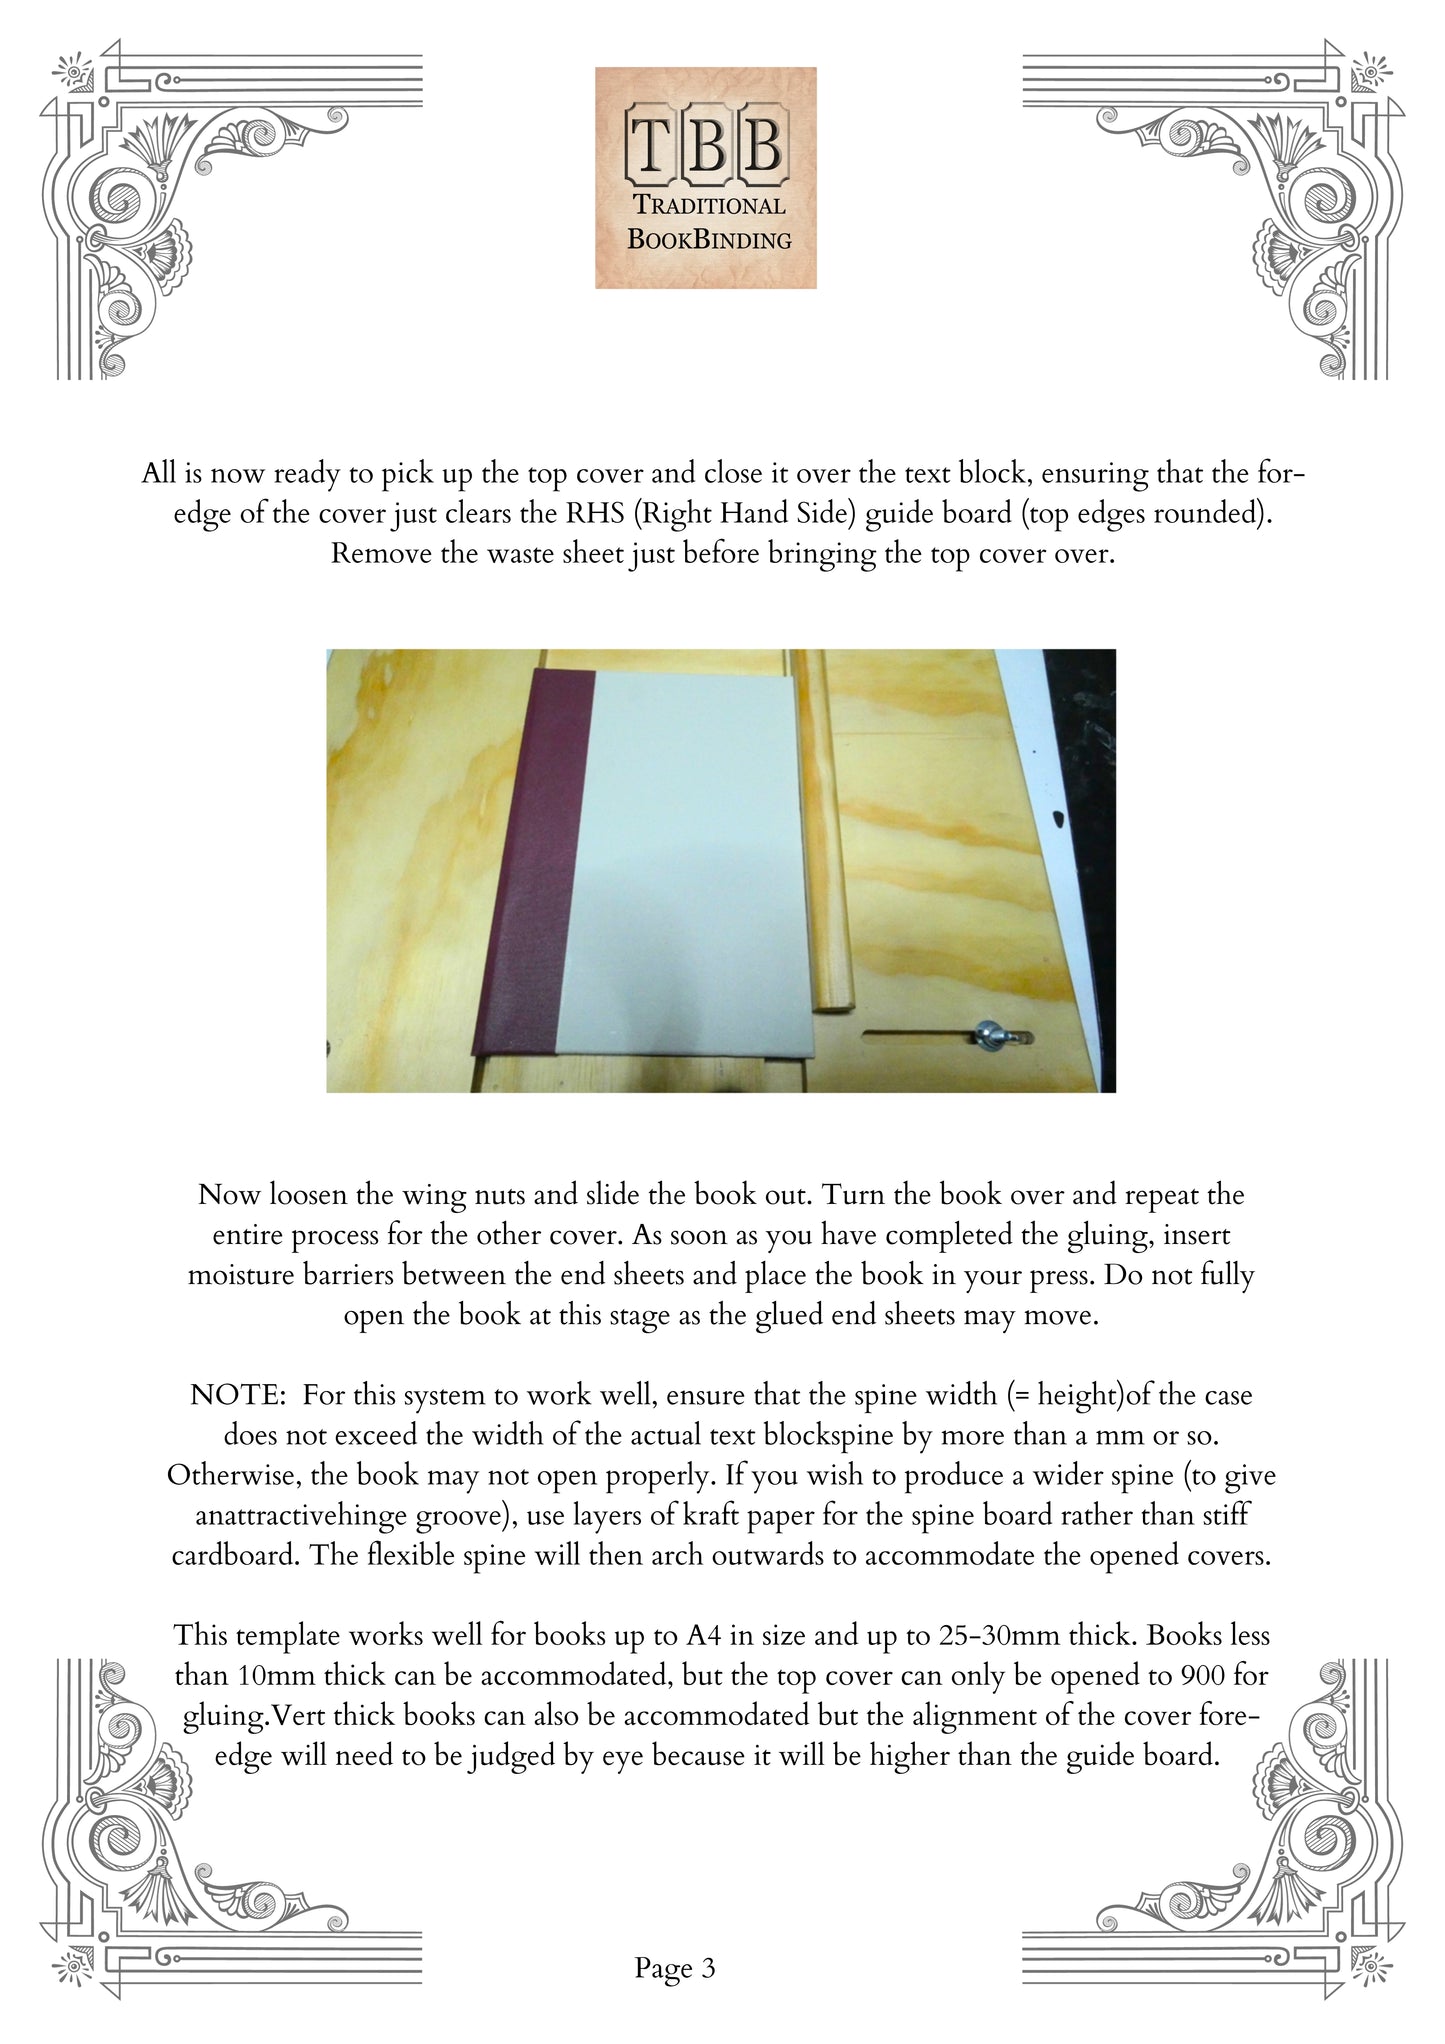
All is now ready to pick up the top cover and close it over the text block, ensuring that the for-edge of the cover just clears the RHS (Right Hand Side) guide board (top edges rounded). Remove the waste sheet just before bringing the top cover over.
Now loosen the wing nuts and slide the book out. Turn the book over and repeat the entire process for the other cover. As soon as you have completed the gluing, insert moisture barriers between the end sheets and place the book in your press. Do not fully open the book at this stage as the glued end sheets may move.
NOTE: For this system to work well, ensure that the spine width (= height)of the case does not exceed the width of the actual text blockspine by more than a mm or so. Otherwise, the book may not open properly. If you wish to produce a wider spine (to give an attractive hinge groove), use layers of kraft paper for the spine board rather than stiff cardboard. The flexible spine will then arch outwards to accommodate the opened covers.
This template works well for books up to A4 in size and up to 25-30mm thick. Books less than 10mm thick can be accommodated, but the top cover can only be opened to 900 for gluing.Vert thick books can also be accommodated but the alignment of the cover fore-edge will need to be judged by eye because it will be higher than the guide board.
Dimensions: 39.4x33x3.6cm
Our bindery is based in Victoria, Australia. If you have any questions, please feel free to contact us.
For outside of Australia, please contact us to confirm the shipping cost, we will try to reply as soon as possible.
Latest Update: 10/11/2023
Share
